
If there’s one concept every trader needs to understand before anything else, it’s support and resistance.
Not because it’s complicated — it isn’t. But because almost every other strategy, indicator, and pattern in trading eventually comes back to this idea. Moving averages act as support. Breakout strategies are built around resistance. Even candlestick patterns only make sense in the context of where the price is in relation to key levels.
Get support and resistance right, and a lot of the rest of trading starts to click. This guide covers what these levels are, how to find them on any chart, and how to build actual trades around them.
Table of Content
- 1 What Is Support and Resistance?
- 2 Why These Levels Matter in Australian Markets
- 3 How to Identify Support and Resistance Levels
- 4 Types of Support and Resistance
- 5 Role Reversal: When Support Becomes Resistance
- 6 Trading Strategies Using Support and Resistance
- 7 Common Mistakes Traders Make with Support and Resistance
- 8 Putting It Together: A Simple Trading Framework
- 9 Conclusion
- 10 Frequently Asked Questions
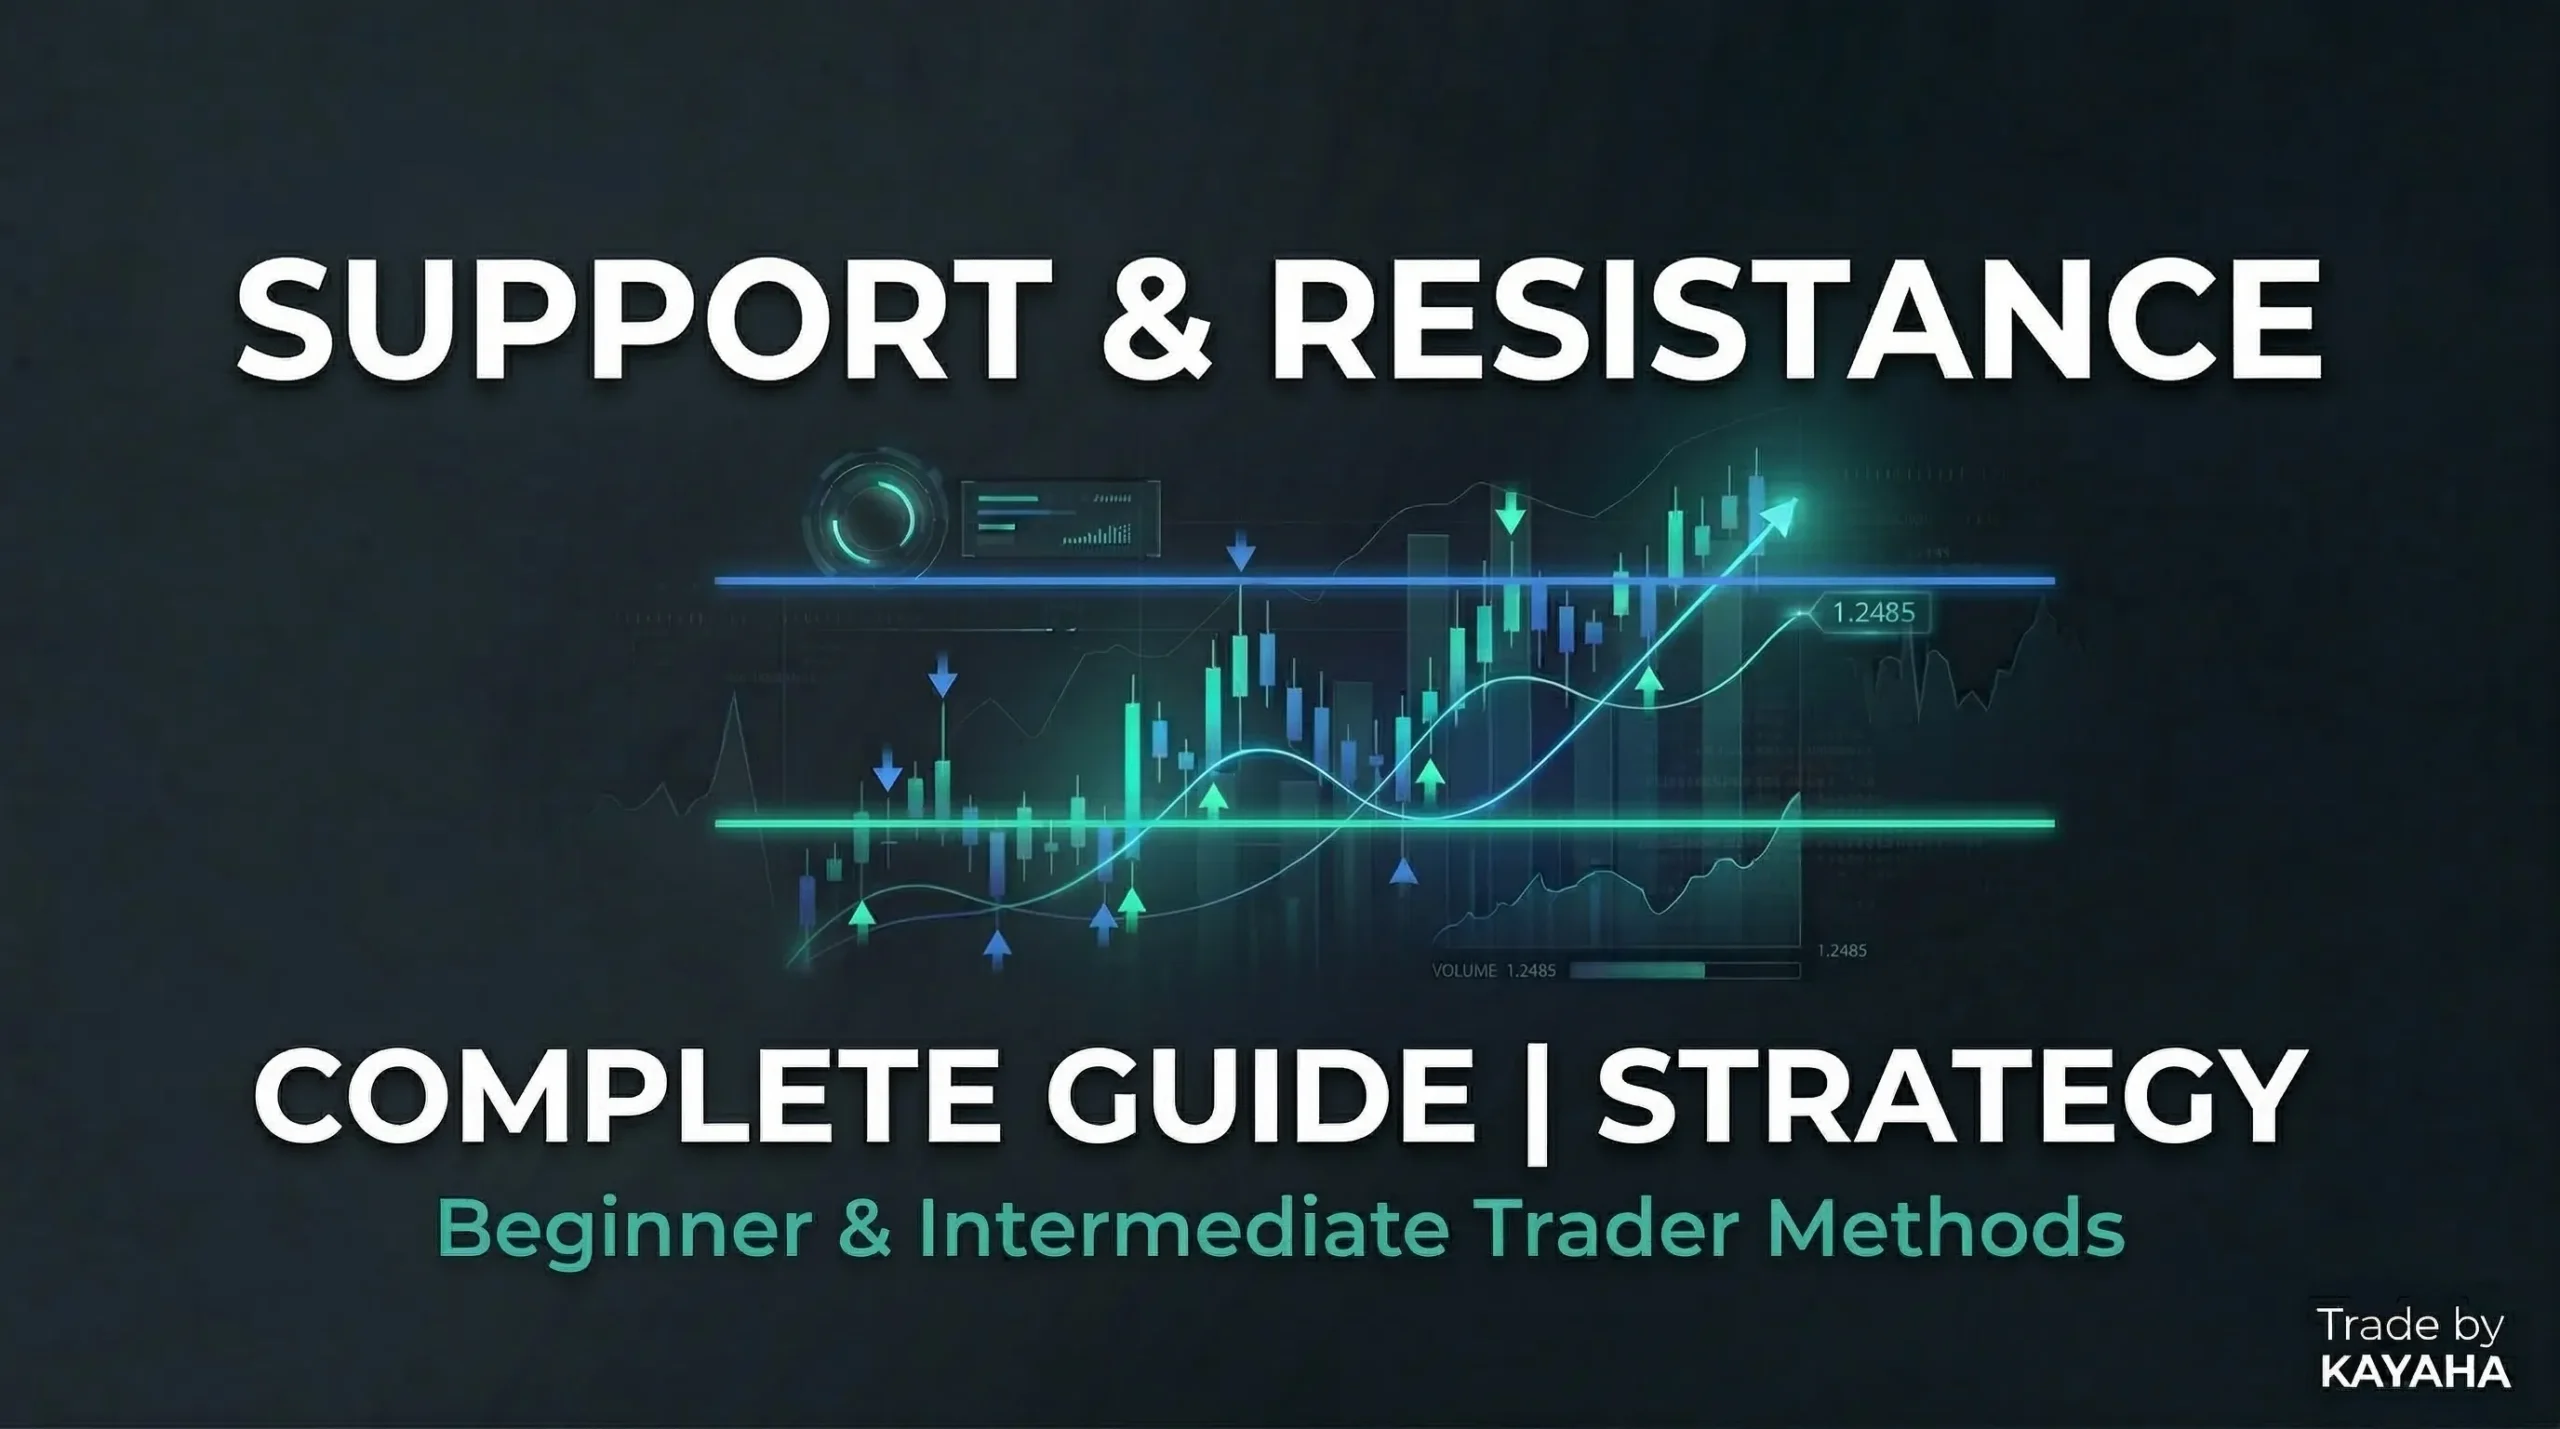
What Is Support and Resistance?
Support is a price level where demand tends to be strong enough to stop price falling further — at least temporarily. Think of it as a floor. When price approaches this level, buyers show up, and the downward move stalls or reverses.
Resistance is the opposite. It’s a price level where selling pressure tends to overwhelm buying, stopping price from moving higher. Think of it as a ceiling. When price climbs to this zone, sellers step in and the upward move stalls or reverses.
These levels form because of human behaviour. Traders who bought near a support level remember it and buy again when price returns. Traders who missed a move higher wait for price to pull back to a certain level before entering. Institutional traders place large orders at round numbers and key price zones. All of this creates repeatable patterns that show up on charts across every market and every timeframe.
That’s the reason support and resistance works: it reflects how actual market participants behave, not just a mathematical formula.
Why These Levels Matter in Australian Markets
Support and resistance apply equally to ASX stocks, AUD/USD forex pairs, ASX 200 index CFDs, and any other instrument you trade. The principles don’t change.
On the ASX, key support and resistance levels often align with:
- Round numbers (e.g. a stock trading near $5.00, $10.00, $50.00)
- 52-week highs and lows — levels every participant can see on any financial data site
- Post-earnings price gaps where price opened significantly higher or lower
- Previous consolidation zones where price spent several sessions moving sideways
For AUD/USD, psychological round numbers like 0.6500, 0.6800, and 0.7000 regularly act as inflection points. Central bank intervention levels and historical highs/lows on the weekly chart carry even more weight.
How to Buy Shares on the Australian Securities Exchange: Beginner Guide
How to Identify Support and Resistance Levels
Finding levels is straightforward once you know what to look for. Start with the weekly or daily chart, identify where price has clearly reacted before, and mark those levels.
Step 1: Use the Right Timeframe
Higher timeframes produce more significant levels. A support level that’s held on the weekly chart carries more weight than one on the 5-minute chart.
For swing trading and day trading, the daily chart is your primary reference. Zoom out to the weekly chart for context. Drop to the 4-hour chart to fine-tune entries.
Step 2: Look for Multiple Touches
A level is more significant the more times price has reacted to it. A single bounce might be coincidence. Two bounces are interesting. Three or more bounces at the same level tells you this is a level the market genuinely respects.
Mark levels where:
- Price reversed after touching the level at least twice
- The rejections were clear — strong candles turning away from the level, not just slow drifts
Step 3: Identify Consolidation Zones
Markets often spend time grinding sideways before a big move. These consolidation periods, when broken, create clear support or resistance. The top and bottom of the consolidation range both become meaningful levels.
This is especially visible on daily charts of ASX stocks before earnings announcements. Price ranges tightly for several weeks, then breaks out. The top and bottom of that range become reference points for months afterwards.
Step 4: Note Round Numbers
Don’t underestimate round numbers. $5.00, $10.00, $100.00 on stocks. 0.7000, 1.3000 on forex. These levels attract orders simply because they’re memorable. Large institutions often place conditional orders at round numbers, which creates self-fulfilling reactions when the price reaches them.
Types of Support and Resistance
Not all support and resistance is horizontal. Understanding the different types helps you identify more setups and avoid misreading charts.
Horizontal Levels
The most common type. Price has reacted at a specific price point multiple times. Draw a horizontal line across those reaction points.
Diagonal Trendlines
When price is making higher lows in an uptrend, connecting those lows creates a rising trendline that acts as dynamic support. In a downtrend, connecting the lower highs creates a declining trendline acting as dynamic resistance.
Trendlines work best when they’ve been touched at least three times. Two-touch trendlines are tentative and shouldn’t be trusted alone.
Moving Averages as Dynamic Levels
The 20 EMA and 50 EMA often act as dynamic support and resistance in trending markets. A stock trending upward will regularly pull back to the 20 EMA before continuing higher. The moving average “moves” with price rather than sitting at a fixed level — hence dynamic.
Moving Average Trading Strategy for Beginners
Fibonacci Retracement Levels
After a strong move up or down, price often retraces to key Fibonacci levels — 38.2%, 50%, and 61.8% are the most watched. These align with support and resistance regularly enough that many traders mark them automatically. The 61.8% level in particular (the “golden ratio”) attracts significant attention in forex markets.
Role Reversal: When Support Becomes Resistance
One of the most useful ideas in support and resistance trading is role reversal. When a support level breaks, it often becomes a new resistance level. When resistance breaks, it often flips to support.
Here’s why. Traders who bought at a support level watch price break through it. Now they’re losing. When price rallies back to that same level, many of them sell to get out at breakeven — which creates selling pressure at the old support level, turning it into resistance.
The same logic works in reverse for broken resistance.
Watching for role reversal gives you a clear entry framework:
- Price breaks through a major support level
- Price rallies back to retest that broken level (now acting as resistance)
- You sell into the retest with a stop above the level
- Target: the next support level below
This is one of the cleanest setups in trading precisely because the logic behind it is so clear.
Trading Strategies Using Support and Resistance
Strategy 1: The Bounce Trade
The simplest support and resistance setup. You wait for price to reach an established level, look for confirmation that the level is holding, and enter in the direction of the expected bounce.
Entry Rules (Support Bounce)
- Price reaches a support level that’s held at least twice before
- A signal candle forms: bullish pin bar (long lower wick, small body near the high), bullish engulfing candle, or a narrow inside bar after several red candles
- Enter above the high of the signal candle
- Stop goes below the signal candle low (or below the support level itself)
- Target: next resistance level above
Entry Rules (Resistance Rejection)
The mirror image. Price reaches resistance, a bearish signal candle forms, you sell below the signal candle with a stop above resistance and target the next support below.
What to Watch For
Confirmation is everything in bounce trades. Don’t enter the moment price touches the level — wait for a candle that shows the level is actually holding. Entering too early, before confirmation, means you’ll be in trades that keep grinding through your stop while the “bounce” eventually happens somewhere below where you entered.
Strategy 2: The Breakout Trade
Instead of fading the level (trading the bounce), breakout traders wait for price to push through the level with conviction and trade in the direction of the break.
[Internal Link: Breakout Trading Strategy: How Traders Spot Big Moves]
What Makes a Valid Breakout
| Feature | Strong Breakout | Weak Breakout |
|---|---|---|
| Volume | Significantly above average | Below average or flat |
| Candle close | Closes well above/below level | Closes near the level |
| Follow-through | Next candle continues in direction | Next candle reverses |
| Context | At all-time highs or key macro level | Mid-range, no clear reason |
A breakout on declining volume with a candle that barely clears the level is a warning sign, not an entry signal. Wait for a retest.
The Retest Entry
After a breakout, price often pulls back to retest the broken level before continuing. This retest offers a better entry than chasing the initial breakout — your stop is tighter, your risk is defined, and you’re entering after confirmation that the level has flipped.
- Enter on the first rejection candle at the retested level
- Stop just below (for longs) or above (for shorts) the retest level
- Target: the measured move from the base of the breakout pattern
Strategy 3: Zone Trading
Rather than treating support and resistance as precise lines, some traders prefer to mark them as zones — areas where price has reacted rather than exact tick-perfect levels.
This is often more realistic. A stock doesn’t always bounce from exactly $5.00 — it might touch $4.96 one time and $5.03 the next. Drawing a zone between $4.90 and $5.10 captures the area of interest more accurately than a single horizontal line.
Zone trading reduces the frustration of “stop hunts” — when price briefly pierces a level, triggers stops, and then reverses. If your stop is placed below the zone rather than below the line, you give the trade room to breathe without taking on excessive risk.
Common Mistakes Traders Make with Support and Resistance
Drawing too many levels.
If your chart is covered in 15 lines, none of them is useful. Focus on the two or three most significant levels — the ones with multiple clear reactions and high visibility to other market participants.
Treating levels as exact prices.
Markets aren’t precise. Think in zones, not lines. A reaction within a few percent of a key level is still a reaction.
Ignoring the broader trend.
A bounce trade at support in a downtrend is fighting the market. The best bounce trades happen at support levels within a broader uptrend — the trend and the level are working together.
Entering without confirmation.
Assuming a level will hold before price actually shows you it’s holding costs money. Wait for the signal candle.
Moving stops to breakeven too early.
Support and resistance trades need room to develop. Moving your stop to breakeven the moment price moves a few ticks in your favour often results in getting stopped out on normal price noise before the trade reaches its target.
Putting It Together: A Simple Trading Framework
Here’s how to apply support and resistance in a structured way:
| Step | Action |
|---|---|
| 1. Weekly chart | Identify major support/resistance levels from the past 6–12 months |
| 2. Daily chart | Mark significant levels, note any upcoming test of a key level |
| 3. 4H chart | Look for price approaching a level; watch for consolidation near the level |
| 4. Entry chart (1H or 4H) | Wait for signal candle confirming the level is holding or breaking |
| 5. Execute | Enter with stop and target clearly defined before the trade |
| 6. Manage | Move stop to breakeven after price moves one full risk unit in your direction |
This top-down approach — starting from the highest timeframe and drilling down — ensures you’re trading the most significant levels, not just the ones visible on the nearest chart.
[Internal Link: Position Size Calculator: How to Manage Risk in Trading]
Conclusion
Support and resistance are the foundation on which almost every other trading concept is built. It isn’t complicated, but it takes screen time to apply well — the ability to read a chart and immediately see the significant levels comes from looking at hundreds of charts, not from memorising a definition.
Start by marking levels on charts of instruments you plan to trade. Watch how price behaves when it approaches those levels. Over time, the patterns will become intuitive. A level that looked uncertain when you first drew it will start to feel obvious — and that’s when the strategy becomes genuinely useful.
Learn this well, and the rest of your trading education will go faster because of it.
Frequently Asked Questions
What is support and resistance in trading?
Support is a price level where buying tends to be strong enough to stop price falling further. Resistance is where selling pressure stops price rising. These levels form because traders remember where price reacted before and behave accordingly when it returns to those areas.
How do you identify support and resistance levels?
Look for price zones where the market has reversed or stalled at least twice on the daily or weekly chart. Prioritise horizontal levels at round numbers, previous highs and lows, and the boundaries of past consolidation zones. Mark them as zones rather than exact lines.
Does support and resistance work on ASX stocks?
Yes. Support and resistance works on any liquid market, including ASX-listed stocks. Key levels on ASX stocks often align with round numbers, 52-week highs and lows, and price zones from previous consolidation periods.
What is role reversal in support and resistance?
Role reversal is when a broken support level becomes a new resistance level, or a broken resistance level becomes new support. It happens because traders who held positions at the original level react when price returns there, creating the pressure that reverses the old level’s function.
What’s the difference between support/resistance lines and zones?
Lines are exact price points; zones are areas where price has historically reacted, usually spanning a small price range. Zones are often more realistic because markets don’t react to the exact same price every time — using a zone accounts for the natural imprecision in how levels play out.